How to Draw Naruto Uzumaki: A Beginner's Guide to the Ninja Way
By Chendu S•August 8, 2024

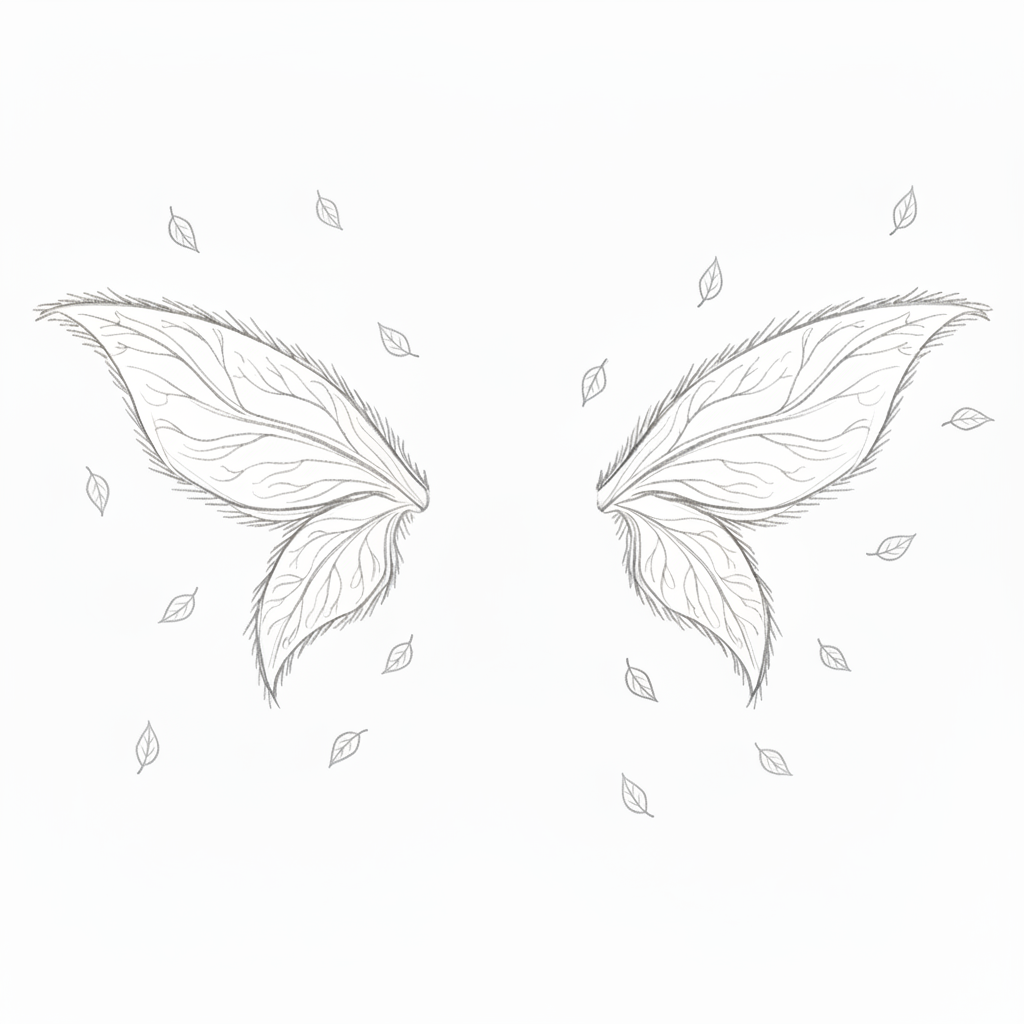
Ever felt intimidated by the beautiful, complex patterns on a butterfly's wings? I'll show you how to break it down into simple, fun steps that anyone can follow.
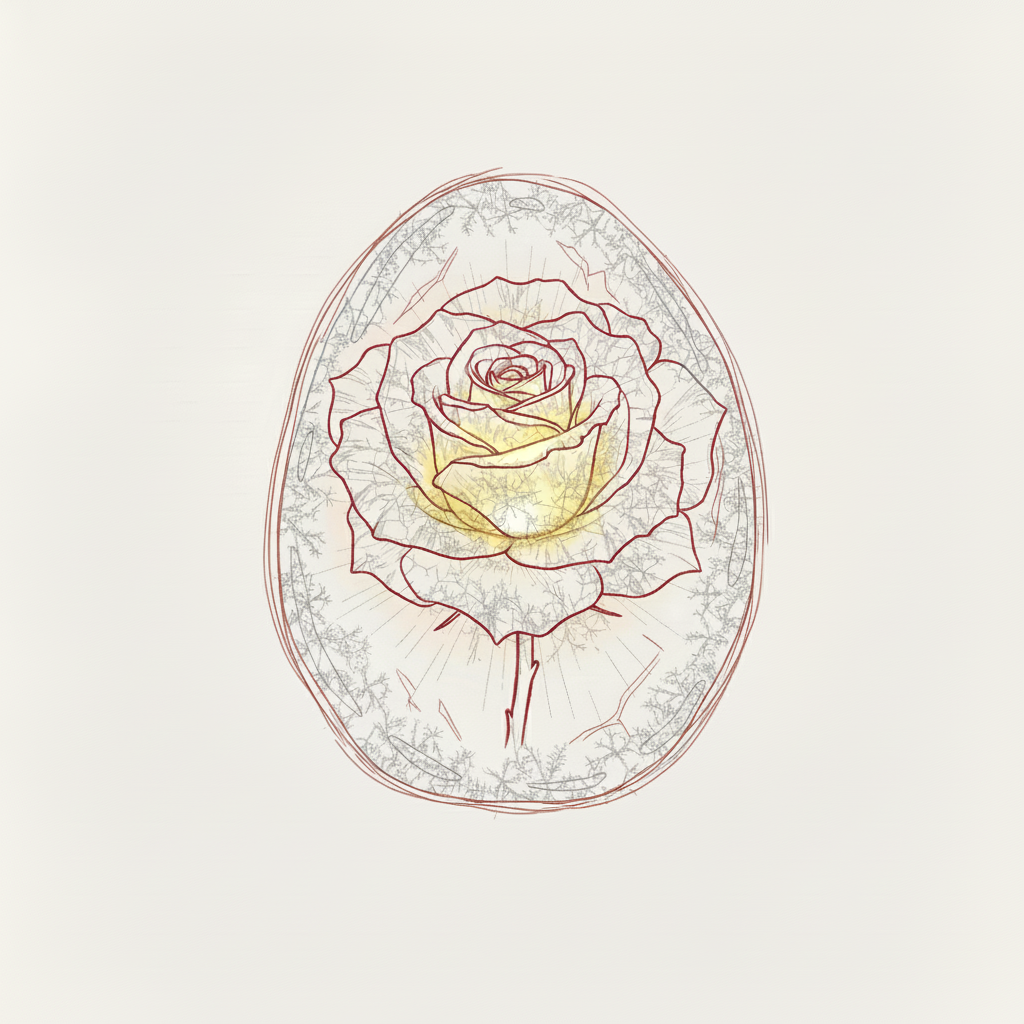
Learn how to draw a beautiful, realistic rose, even if you think you can't draw. This guide breaks down the intimidating process into simple, manageable steps, helping you capture the timeless elegance of this classic flower.